目次
概要
OpenCV で画像の一部を切り抜き、また画像を別の画像に貼り付ける方法について解説します。
画像の形式
OpenCV の Python 版では、画像は numpy.uint8 型の NumPy 配列で表されます。
| dtype | shape | ndims | |
|---|---|---|---|
| グレースケール | numpy.uint8 | (Height, Width) | 2 |
| カラー画像 | numpy.uint8 | (Height, Width, 3) | 3 |
| アルファチャンネル付きカラー画像 | numpy.uint8 | (Height, Width, 4) | 3 |

NumPy 配列の軸 (axis) は、以下のように対応します。
| axis | 内容 |
|---|---|
| 0 | 高さ |
| 1 | 幅 |
| 2 | チャンネル |
画像の切り抜き
画像の切り抜きは、NumPy 配列のスライス機能を使用して実現できます。
高さ方向は axis=0、幅方向は axis=1 なので、img[高さの範囲, 幅の範囲] でスライスすることにより、画像の切り抜きが実現できます。


In [1]:
import cv2
import numpy as np
from IPython.display import Image, display


def imshow(img):
    """ndarray 配列をインラインで Notebook 上に表示する。"""
    ret, encoded = cv2.imencode(".jpg", img)
    display(Image(encoded))
In [2]:
def crop_img(img, x1, y1, x2, y2):
"""画像を切り抜く。"""
x1, x2 = np.clip([x1, x2], 0, img.shape[1])
y1, y2 = np.clip([y1, y2], 0, img.shape[0])
return img[y1:y2, x1:x2]
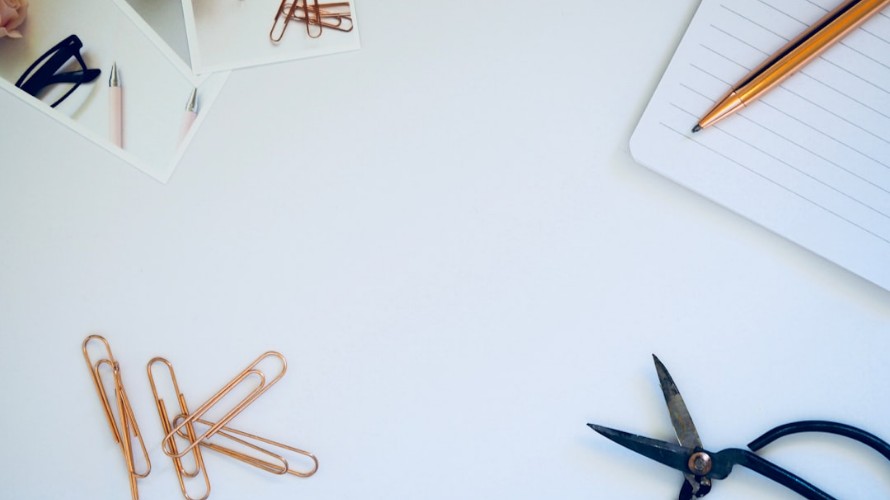
# 画像を読み込む。
img = cv2.imread("sample1.jpg")
dst = crop_img(img, 180, 20, 450, 350)
imshow(dst)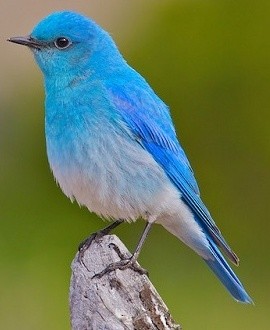
画像の貼り付け
ある画像を別の画像に貼り付ける方法を解説します。 画像の貼り付けは、NumPy 配列の代入機能を使用して実現できます。
In [3]:
def paste(src, dst, x, y):
"""画像を貼り付ける。"""
dst = dst.copy()
src_h, src_w = src.shape[:2]
dst_h, dst_w = dst.shape[:2]
# 貼り付け範囲を計算する。
# (x, y, x + src_w, y + src_h) と (0, 0, dst_w, dst_h) の共通部分を求める。
dst_x1 = max(0, x)
dst_x2 = min(x + src_w, dst_w)
dst_y1 = max(0, y)
dst_y2 = min(y + src_h, dst_h)
if dst_x1 >= dst_x2 or dst_y1 >= dst_y2:
return dst # 貼り付け範囲がない場合
dst[dst_y1:dst_y2, dst_x1:dst_x2] = src[
dst_y1 - y : dst_y2 - y, dst_x1 - x : dst_x2 - x
]
return dst
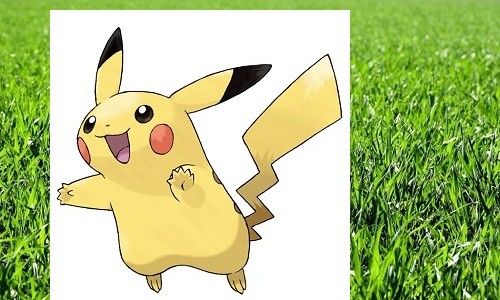
src = cv2.imread("sample2.jpg")
dst = cv2.imread("sample3.jpg")
print(src.shape, dst.shape)
img_pasted = paste(src, dst, 50, 10)
imshow(img_pasted)(300, 300, 3) (300, 500, 3)
コメント