目次
概要
OpenCV で Canny 法でエッジを抽出する方法について解説します。
Canny エッジ検出
Canny エッジ検出は、以下の複数の処理を順番に行い、画像からエッジを検出する手法です。
- 水平方向および垂直方向のソーベルフィルタを適用し、輝度勾配および勾配強度を計算する
- Non Maximum Suppression で細いエッジを抑制する
- 2 つの閾値を使用してヒステリシス処理を行い、誤検出を抑制する
cv2.Canny
edges = cv2.Canny(image, threshold1, threshold2[, edges[, apertureSize[, L2gradient]]])
引数
| 名前 | 型 | デフォルト値 |
|---|---|---|
| image | ndarray | |
| 入力画像 (1チャンネル) | ||
| threshold1 | float | |
| ヒステリシス処理の際の1つ目の閾値 | ||
| threshold2 | float | |
| ヒステリシス処理の際の2つ目の閾値 | ||
| apertureSize | int, {3, 5, 7} | 3 |
| ソーベルフィルタのフィルターサイズ。 | ||
| L2gradient | bool | false |
| true の場合は勾配強度のノルムに L2 ノルムを使用する。false の場合は L1 ノルムを使用する。 | ||
返り値
| 名前 | 説明 | ||
|---|---|---|---|
| edges | 出力画像 | ||
サンプルコード

In [1]:
import cv2
from IPython.display import Image, display


def imshow(img):
    """ndarray 配列をインラインで Notebook 上に表示する。"""
    ret, encoded = cv2.imencode(".jpg", img)
    display(Image(encoded))
In [2]:
import cv2
import numpy as np
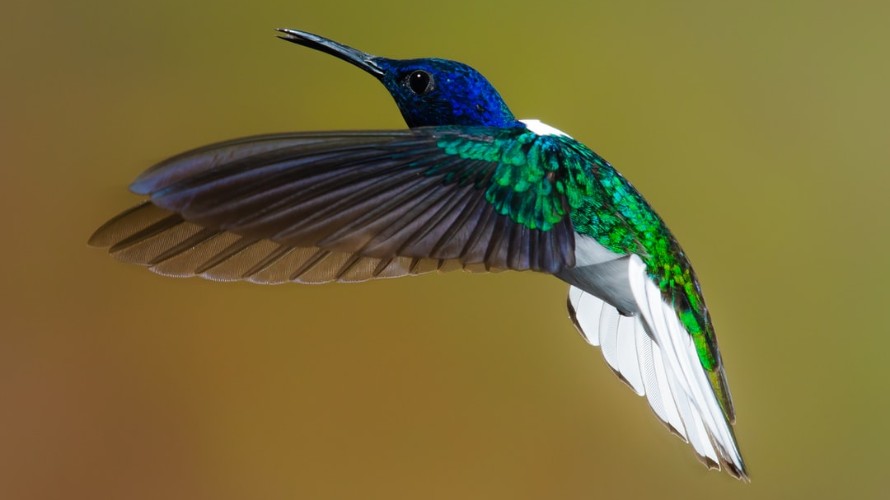
# 画像を読み込む。
img = cv2.imread("sample.jpg")
# Canny エッジ検出を行う。
edges = cv2.Canny(img, 100, 400)
imshow(edges)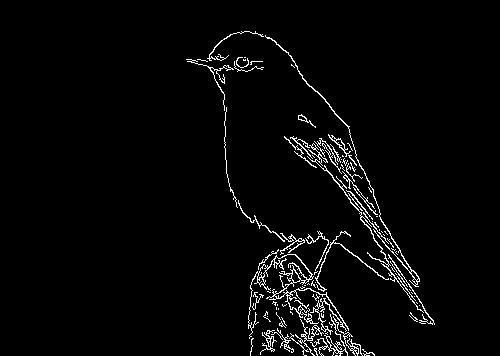
パラメータ調整について
エッジ検出の結果が芳しくない場合は、以下の 4 つのパラメータを調整します。
試した感じでは、apertureSize=3、L2gradient=True とするのが基本的には良さそうです。
threshold1、threshold2 の適した値は画像によって異なるため、調整が必要です。
- threshold1: ヒステリシス処理の際の 1 つ目の閾値
- threshold2: ヒステリシス処理の際の 2 つ目の閾値
- apertureSize: ソーベルフィルタのフィルターサイズ
- L2gradient: true の場合は勾配強度のノルムに L2 ノルムを使用する。false の場合は L1 ノルムを使用する。
ipywidgets によるパラメータ調整
ipywidgets を利用してインタラクティブにパラメータを調整するためのコードを記載します。
In [3]:
import cv2
from IPython.display import Image, display
from ipywidgets import widgets


def imshow(img):
    """画像を Notebook 上に表示する。"""
    ret, encoded = cv2.imencode(".png", img)
    display(Image(encoded))


def canny(img, thresh, apertureSize, L2gradient):
    """2値化処理を行い、結果を表示する。"""
    edges = cv2.Canny(
        img, thresh[0], thresh[1], apertureSize=apertureSize, L2gradient=L2gradient
    )
    imshow(edges)


# パラメータ「threshold1」「threshold2」を設定するスライダー
thresh_slider = widgets.SelectionRangeSlider(
    options=np.arange(1000), index=(100, 200), description=f"threshold"
)
thresh_slider.layout.width = "400px"

# パラメータ「apertureSize」を設定するスライダー
aperture_size_slider = slider = widgets.IntSlider(
    min=3, max=7, step=2, value=3, description="apertureSize: "
)
aperture_size_slider.layout.width = "400px"

# パラメータ「L2gradient」を設定するチェックボックス
l2_gradient_checkbox = widgets.Checkbox(value=False, description="L2gradient: ")
l2_gradient_checkbox.layout.width = "400px"

# 画像を読み込む。
img = cv2.imread("sample.jpg")

# ウィジェットを表示する。
widgets.interactive(
    canny,
    img=widgets.fixed(img),
    thresh=thresh_slider,
    apertureSize=aperture_size_slider,
    L2gradient=l2_gradient_checkbox,
)
コメント