OpenCV – 画像を切り抜く、チャンネルを分離、結合する方法
概要
OpenCV の Python 版では画像は ndarray で表されます。 画像の切り抜きやチャンネルの分離、画像の一部にのみ他の値を代入するといったことは numpy の機能で実現できます。
Advertisement
画像の表現形式
OpenCV の Python 版では画像は numpy.uint8 型の ndarray で表されます。
| dtype | shape | ndims | |
|---|---|---|---|
| グレースケール | numpy.uint8 | (Height, Width) | 2 |
| カラー画像 | numpy.uint8 | (Height, Width, 3) | 3 |
| アルファチャンネル付きカラー画像 | numpy.uint8 | (Height, Width, 4) | 3 |

ndarray の軸は以下のように対応します。
| axis | 内容 |
|---|---|
| 0 | 高さ |
| 1 | 幅 |
| 2 | チャンネル |
画像を切り抜く
高さ方向は axis=0、幅方向は axis=1 なので、img[高さの範囲, 幅の範囲] でスライスすることにより、画像の切り抜きが実現できます。


In [1]:
import cv2
import numpy as np
from IPython.display import Image, display
from matplotlib import pyplot as plt
def imshow(img):
"""ndarray 配列をインラインで Notebook 上に表示する。
"""
ret, encoded = cv2.imencode(".jpg", img)
display(Image(encoded))
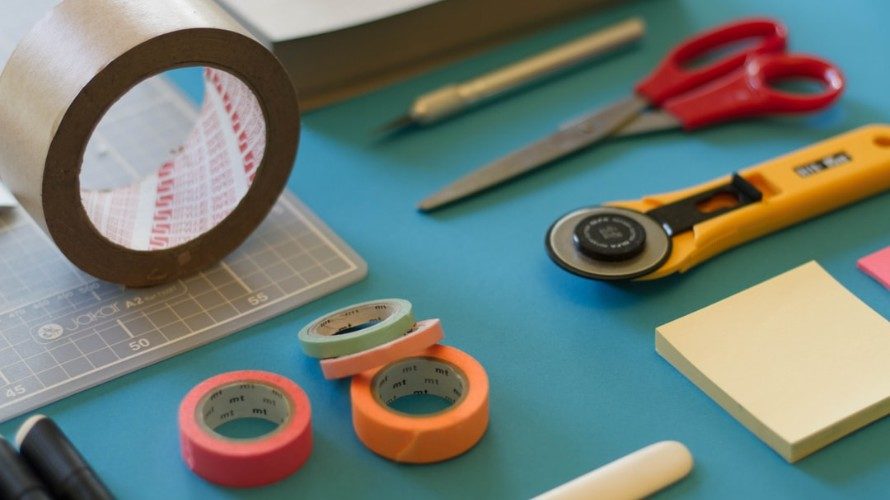
# 画像を読み込む。
img = cv2.imread("sample.jpg")
# x は [180, 450]、y は [20, 350] の範囲で切り抜く。
cropped = img[20:350, 180:450]
imshow(cropped)
関数にすると以下のようになります。
In [2]:
def crop_img(img, tl, br):
    """矩形 (tr, br) の範囲を切り抜く。
    """
    if tl[0] > br[0]:
        tl[0], br[0] = br[0], tl[0]
    if tl[1] > br[1]:
        tl[1], br[1] = br[1], tl[1]

    return img[tl[1] : br[1], tl[0] : br[0]]


# 左上が (180, 20)、右下が (450, 350) の矩形で切り抜く。
cropped = crop_img(img, (180, 20), (450, 350))
imshow(cropped)
チャンネルの分割、結合
チャンネル方向は axis=2 となっているため、axis=2 でスライスすることで各チャンネルを分離できます。
例えば、青のチャンネルを取り出すには img[:, :, 0] または img[..., 0] となります。
In [3]:
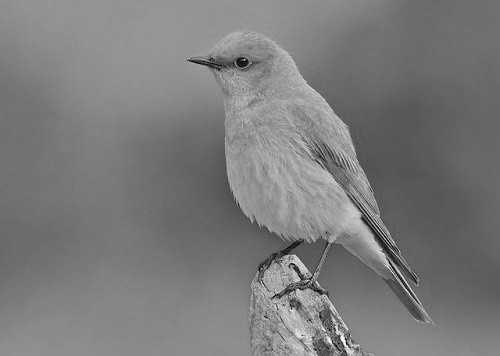
b = img[..., 0]
g = img[..., 1]
r = img[..., 2]
imshow(b)
imshow(g)
imshow(r)
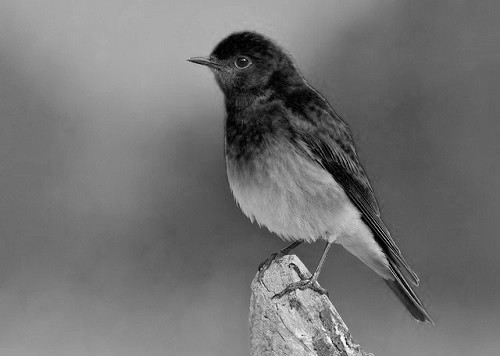
または cv2.split() を使っても分割できます。
In [4]:
b, g, r = cv2.split(img)分割したチャンネルは cv2.merge() で結合してカラー画像に戻せます。
In [5]:
img = cv2.merge((b, g, r))-
前の記事

OpenCV – 連結成分のラベリングを行う cv2.connectedComponents の使い方 2020.08.31
-
次の記事
OpenCV – cv2.distanceTransform で距離変換を行う方法 2020.08.31